Magento
5 MIN READ
March 25, 2022
![]()
![]()
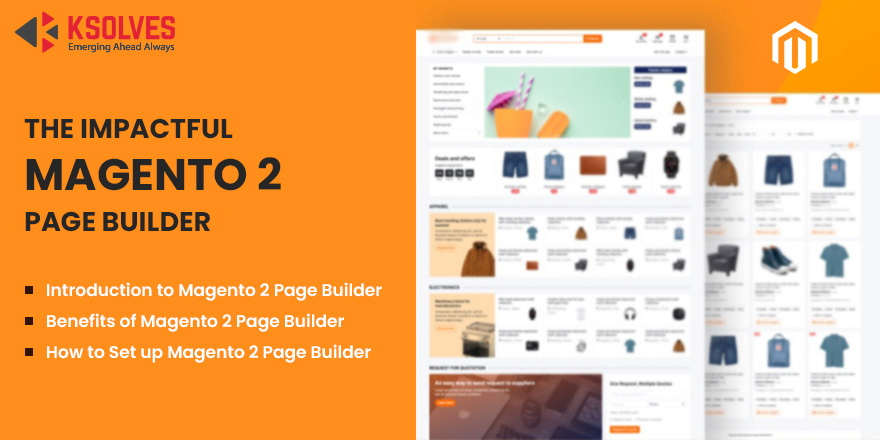
Being an online merchant, you would like to create an eye-catching website page. If you use an eCommerce platform such as Magento, you must be aware of the Magento 2.4.3 launch. With this launch, Magento introduced the Page Builder feature, which was a boon to online sellers.
Magento Page Builder is for both technical and non-technical people. Any merchant can create a beautiful layout of its website with the basic knowledge of page layouts.
Page Builder was first seen in the Magento Commerce 2.3.1. It provides advanced content management functionality to the store admin. The admin does not require any CSS or HTML knowledge to create custom page layouts. With an easy drag and drop pre-built control, a user can create a personalized Magento page.
Administrators may simply design and customize rich-content pages in Magento Commerce by utilizing the built-in Page Builder. Simple pages, Catalog content, or Blocks with a user-friendly interface, unique layouts, and visual content features can be built.

In nutshell, Page Builder is a Magento Extension for creating content with the pre-built controls in form of drag and drop functionality.
The pre-built controls are categorized into four types:

Let’s dive into deep the Page builder panel and get familiar with all the functionalities available for the admin.
To begin creating content, it is important that Magento 2 CMS page builder must be enabled on your website. Open the Page Builder Workspace by visiting the “Edit With Page Builder” button, where, in the left corner of the workspace you can visit the Page Builder Panel.
The pre-built controls are also known as “content-type”. Let’s understand each content type thoroughly.

The layout option gives rows, columns, and tab features to drag and drop from the panel to the stage.
A new row may only be added to the stage by dragging it from the panel and positioning it above or below the existing row, tab, or column group. You may also create a copy of the original row by selecting Duplicate.
Drag a column to the stage from the panel, or to tabs and rows. The maximum number of columns is only determined by the number of grid divisions.
Admin can drag a single tab from the panel to the stage, or to rows and columns. One can add additional tabs if required from the toolbox.

From the Elements section, you may add text, dividers, buttons, headings, and HTML code to the stage.

Add pictures, banners, videos, Google Maps, and sliders to any layout container on the Page Builder stage using the Media section of the Page Builder panel. When a media content type is moved from the panel to the stage, a container with a toolbox of content-specific choices appears.

To add the existing content to the page builder stage, the “Add Content” section is required.
There are many advanced features of Magento Commerce Page Builder that a user can use for creating an engaging content layout.
Don’t get confused by Magento 2 CMS Page Builder or Magento Page Builder, both keywords imply the same. CMS stands for Content Management System.
If you use Magento to sell your products online, Page Builder Extension is beneficial for you. To enable the set-up, follow the given points.
Note: Your existing Magento should be upgraded to the Magento 2.4.3 version. To upgrade your Magento, consult the Ksolves here!

When you enable One Page Builder in the setup, it will become the standard content creation tool for Blocks, Dynamic Blocks, and CMS Pages. Furthermore, the “Enable Advanced CMS” button makes Page Builder an opportunity for Categories and Products. Admin can also choose the default page layout for CMS pages, products, and categories.
For Advanced Content Tools, consult with the Ksolves team for smooth settings.
You will require to configure the Magento 2.4 page builder. Follow the given instructions thoroughly.
1. On the Admin Panel, navigate to Stores > Settings > Configuration.
2. Choose Content Management from the General in the left panel.
3. Go to Advanced Content Tools and ensure that Enable Page Builder is switched to ‘YES’.
4. To set up Google Maps, follow the given points:
Link to getting API: https://developers.google.com/maps/documentation/javascript/get-api-key
5. To adjust the number of guidelines in the Page Builder column grid, do the following:

6. Select SAVE Config to complete the Page Builder Configuration.
To configure default layouts, follow these steps:
1. From the Admin Panel, navigate to Stores > Settings > Configuration.
2. Select Web from the General dropdown menu.
3. Select Default Layouts and then perform these steps:

To disable Magento 2 Page Builder, do the following:
1. Go to Stores > Settings > Configuration on the Admin sidebar.
2. Select Content Management from the left panel under the General section.
3. Set Enable Page Builder to ‘No’ in the Advanced Content Tools expansion.
4. When requested for confirmation, select Turn Off.

5. Click ‘Save Config’ and refresh any invalid caches when requested.
These are the simple steps to set up, enable, and disable the Page Builder Extension in Magento 2.
Let’s see why you should choose the Magento 2 CMS page builder.
With the help of pre-designed templates, you can create CMS pages, category descriptions, and product descriptions with a few easy operations like drag and drop.
There is no coding skills or experience necessary, and you are not obliged to seek assistance from any technical professionals.
You may improve the design of your store by using elegant and ready-to-use templates with effects and animation from the Magento 2 page builder extension.
Attract new visitors, keep them on your webpage longer, and convert them into customers.
Allowing your consumers to purchase in an online store with vibrant and beautifully designed pages greatly enhances their shopping experience.
Furthermore, eye-catching designs might inspire customers to make a purchasing choice, make them more inclined to place orders. As a consequence, you may improve sales and benefit more.
Creating a visually appealing storefront is as important as building brand awareness. With the Magento 2.4 Page Builder, admins can now create beautiful page content.
You can follow the given link for detailed instructions.
https://docs.magento.com/user-guide/cms/content-menu.html
Moreover, if you need expert assistance in creating a customized page layout for your Magento store, don’t hesitate to consult the Ksolves.
Website: https://store.ksolves.com/
Phone:+1(646)-203-1075, +91-7498170227
Email: sales@ksolves.com
![]()
![]()


